Do you find yourself stuck when teaching geometry to your upper-grade students? They’ve been learning about different shapes since early grades, right?
Geometry standards build on the prior grade level’s standards. So, while younger grades start by identifying shapes, older grades move through classifying shapes and beyond. We also don’t usually find that we have much time to spend teaching these skills (hello, state testing), so optimizing our time spent on geometry concepts is essential.
We may also find that some students are having trouble mastering geometry skills. How do we best differentiate to meet their needs?
Meet the geometry differentiation toolkit. Read to discover how to teach geometry with tools that will help maximize student success.

How to teach geometry with a differentiation toolkit!
First, let’s define differentiation. Differentiation is when we tailor instruction to meet unique individual needs. Differentiation does not mean we are doing something different for all students all the time. There isn’t enough time or enough of you.
Finding quick wins when differentiating geometry activities for varying skills and abilities in your elementary school math class is critical. The geometry differentiation toolkit can play a pivotal role in doing just that.
A differentiation toolkit is a collection of classroom differentiation strategies and geometry tools young students use while practicing math skills. Think of it as a reference sheet for geometry concepts.
The geometry toolkit includes various tools to support upper-grade elementary students practicing geometry skills. It contains examples, visuals, geometry vocabulary, and more to help students master grade-level geometry standards.

The toolkit was built with tools specifically addressing 3rd, 4th, and 5th grade geometry common core state standards and skills. It covers everything from obtuse angles to isosceles triangles to various shapes.
How to teach geometry with tools: How does it work?
What does a tool do? It helps a builder to make something.
The geometry tools in this toolkit work the same way. Students use the tools to build their understanding and mastery of geometry concepts. Once you build a toolkit, students can use them as they work on various activities.
This free toolkit is easy for you to put prep and put together for your students.
Each toolkit page comes with three empty boxes. From there, you select three differentiation tools that best support your student and glue them to the toolkit page. Then, place the built toolkit in a page protector for students to use and reuse while completing geometry tasks.
You can make a toolkit with various geometry skills that will help students no matter what geometry activities they are working on. You can also make a toolkit based on the specific geometry skill you are learning.

For example, if your students are learning about lines and angles, build a lines and angles toolkit. These tools include a description and image for students to reference. When working on any geometry activities, a student can pull out their toolkit and see a visual reminder of what precisely intersecting, parallel, and perpendicular lines are.
How to teach geometry with tools: Who is it for?
All students! Geometry toolkits work as a reference sheet for students working to develop their learning of geometry skills. Not all your students may need to use it, but it is a better way to support diverse learners.
One of the best parts of a toolkit is that you can customize it for students according to their needs. For example, a 5th-grade student may struggle with classifying shapes but understands coordinate graphing well. You can build a toolkit with tools that will support them with classifying shapes but don’t give them a toolkit for coordinate graphs. With this toolkit, you can vary the support level you provide each student.

What good is a tool if you don’t know how to use it? Before you set students free to use their toolkit, teaching them how to use it and the tools inside is a good idea. I even like to review how students can use their toolkits for specific geometry activities. Sometimes, they only need a little reminder to help them get going.
It is also essential to constantly check in and monitor how the toolkit works for students. Maybe a particular tool hasn’t resonated the way you thought it might. Please get rid of it or switch it out. It can also be beneficial to ask students what tools they feel would help them while they work. This toolkit was designed to be easy to customize and make work for the unique learners in your classroom.
Students can continue to use and reference their geometry toolkit until you feel they have a strong understanding of the needed skill and are ready to move to the next level. The goal is to reduce the support students need when completing assignments and activities, but this will be unique to each student.
Remember, these toolkits are a way to differentiate and make learning geometry easier for students. These toolkits won’t give your students the correct answers to the problems they are solving, but they will provide them with the background knowledge and basic skills to solve geometry problems, questions, and tasks. Ultimately, they make the learning process more accessible to students, which is the goal of differentiation.
How to teach geometry with tools: When can you use the geometry differentiation toolkit?
You can use the geometry tool in this toolkit in different ways anytime students are working on activities to help build a better understanding of math concepts. Students can use them in the learning process and for independent practice.
The best part about the toolkit is that it works as a reference sheet that can be used repeatedly. Students can use them in activities such as working in centers, small groups, worksheets, hands-on activities, and more. Let’s look at some fun ways you can use this toolkit.
How to teach geometry with tools: Math City Park
The Math City Park is a real-life math project that practices grade-level geometry standards. Students will classify shapes, angles, and more while looking at the real world’s geometry. This project helps students build their geometry problem-solving skills.
Students can use the geometry toolkit as a reference sheet while they work through the project. It is a fun and engaging activity to add to your geometry unit. Plus, this real-world math project is a part of an engaging math project that can be completed over the school year.

How to teach geometry with tools: Bingo Game
Using the geometry toolkit would be a great way to differentiate this free Lines Bingo game from You’ve Got This Math. Students could easily use their geometry toolkit to help them play the game where they practice recognizing parallel lines, line segments, and different types of lines.
It would also be easy to see how dependent students are on their toolkits while working on this skill. Some students may need the toolkit, and some may not. But it makes playing this game more available to all the students in your class, no matter where they are, in their understanding of lines.
How to teach geometry with tools: Geometry Color by Numbers

These grade-level color-by-numbers are a perfect way to practice individual geometry standards.
These geometry activities are available in 3rd, 4th, and 5th grade standards, perfect for centers, independent practice, and more.
They require no prep and are differentiated to meet your unique learners’ needs better. Encourage students to use their geometry toolkit with this activity. It’s an easy way to provide some extra support.
How to teach geometry with tools: Geometry Activities
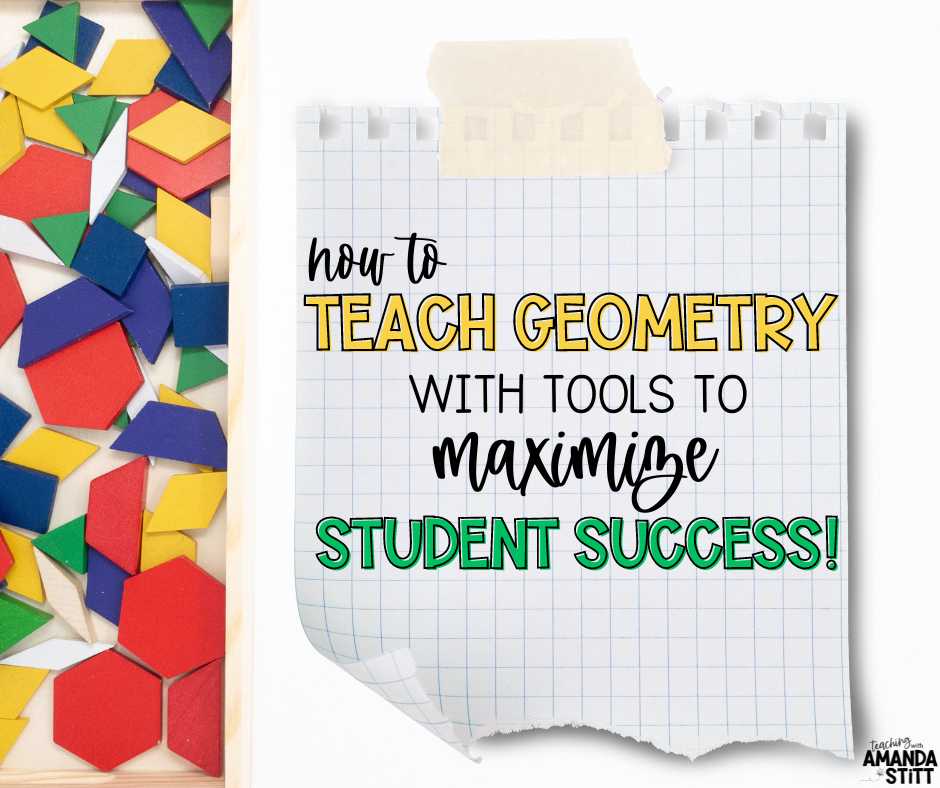
This blog post from Upper Elementary Snapshots is filled with practicing geometry activities in a hands-on way, like working with pattern blocks and art that upper-grade elementary students would love! Students can easily use their differentiation toolkit while completing these engaging activities. Remember, put the toolkits in a paper protector; students can write on them and use them repeatedly.
How to teach geometry with tools to maximize student success? Use toolkits! Geometry toolkits are an easy and effective way to differentiate your students’ learning process and activities. They are meant to be dynamic, just like your students’ learning. Help your students be successful by giving them an easy way to reference the geometry concepts they are learning.
One of the side benefits I have seen from students using the geometry toolkit is confidence. While a student may not have all the answers or feel like they know exactly what to do, they feel empowered to use the tools they’ve been given to work to figure it out.
This toolkit aims to support students in their learning and make geometry skills more available to various students. The benefits are seeing empowered, confident students master geometry skills. Does it get any better than that?
So what are you waiting for? Download this free geometry toolkit today and get building!


No Comments